Bird-Control bird spike is one of the most popular easy-to-use bird deterrent products. Today in this article, we’ll introduce how to apply bird repellent spikes in the right way, at your home or business. And the right way to clean the surface before bird spike installation.
Clean The Surface Before Installation
Firs of all, you should remember the bird droppings are very toxic. Never attempt to brush up clean dry bird droppings. For a ledge where the birds are using for roosting, I’m going to show you the right way to clean the ledge.
First, protect yourself against any of the bacteria, viruses, and germs in bird droppings. So the most important thing to do is to look at the protective equipment we’re going to be using.
Protective Equipments:
- A full-face mask, which covers your nose and your mouth.
- Gloves, any common gloves that you can bury from the hardware store.
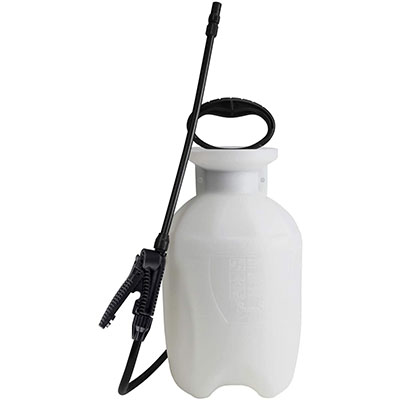
- Garden sprayer with EPA-registered disinfectant solution, which contains water, a little bit of detergent, odor neutralizer, and sterilizing solution EPA registered.

Full Face Mask Working Gloves Garden Sprayer


Clean the Surface or the Ledge Birds Rosting:
Now, we’re going to wet the surface down thoroughly. We need to coat all the fecal matter, giving it a good soaking with the sterilizing solution.
Then, leave that solution sitting there on the bird droppings for at least 2 minutes to let it soak in before I do anything further.
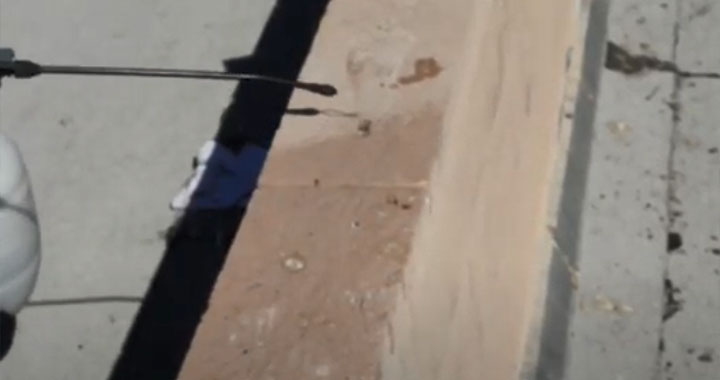
After that, brush the bird droppings using a hand brush, which you can also buy from a hardware store. Get the surface completely free of dust matter and facal matter. So that you’re totally protected from any contamination that may be in the droppings.

After these had done, an ordinary rag is good enough. Take your rag to wipe it across the surface to clean off the excess of the liquid. Then what you’re going to do is just waiting for the surface to dry.
This surface will then be ready to install bird repellent spikes. Then follow the steps below to finish the installation.
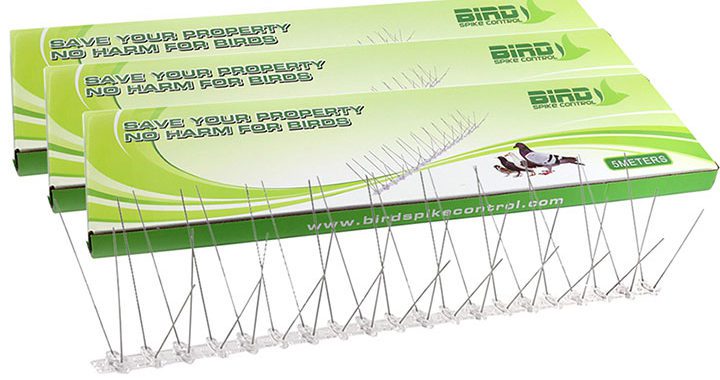
Select the Right Bird Spike from Different Models
First of all, I want to remind you should always know that, bird spikes, no matter what manufacturer you choose from, will never work on small birds like sparrows, starlings, mourning doves, small birds like that are totally ineffective as they can actually land between the prongs for nesting. Only use spikes for pigeons and larger birds such as gulls.
So here you can see four different models of spikes: One-row prong, two-row prong, three-row prong, and five-row prong.
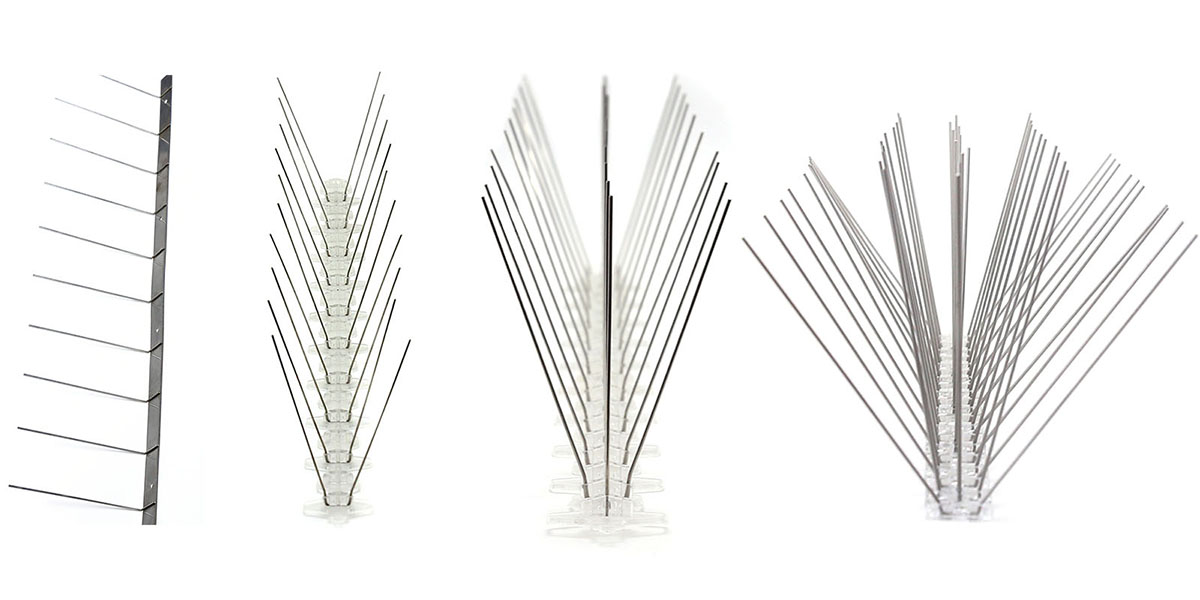
One-row prong bird spike is designed to be installed on the edge of a gutter or narrow surface no more two inches wide, such as a sprinkler pipe or the edge of a gutter.
- One-row prong bird spike is designed to be installed on the edge of a gutter or narrow surface no more two inches wide, such as a sprinkler pipe or the edge of a gutter.
- The two-row prong spike has two-row spikes separated by two inches. This will cover up to four inches of a ledge or a four-inch diameter pipe.
- The three-row prong spike will cover four inches. And plus another two this will cover up six inches of a ledge.
- Finally, a five-row prong model will cover up 8 inches. If you have a window or a ledge behind, this will give you up to ten inches of coverage.
Installation Step
Now, it’s time to get started with the installation steps.
Step 1. Choose the installtion tools
Choose the right tools for bird spike installation, according to the base condition:
- If using a wooden or concrete surface, simply use the screw.
- If using on a plastic surface, the spikes can be fixed in place with glue, plastic ties, or installation clamp.
Step 2. Paste the Bird Spikes onto the Surface
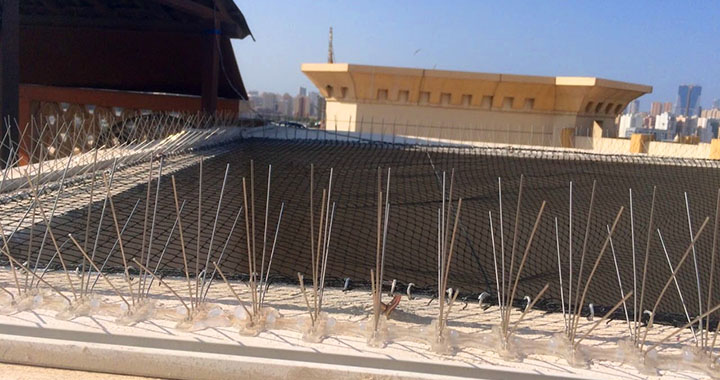
The first row of spikes is pasted on the front of the surface so that it is fully protected by the spikes.
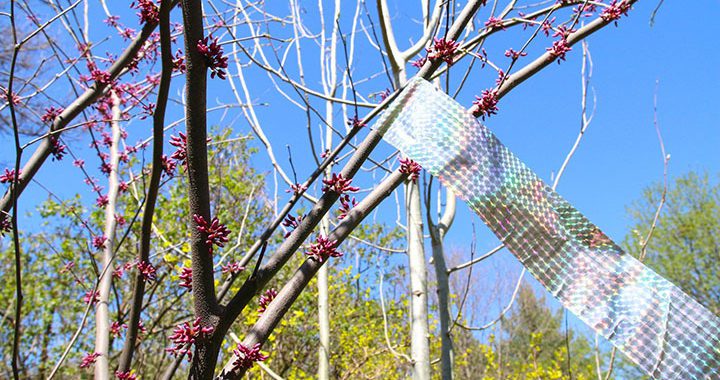
We advise you to cover all gaps by netting, for full-scale defense.
Immediately replace the damaged spike before the birds move in.